How to install artificial grass
Eight steps, from preparing the ground to the final brushing. It's written so you can do it yourself: if your case is a large garden with slopes, at the end we explain when it's worth hiring a professional.
Want to understand the reason for each layer before you start? You'll find it in the installation guide.
Step by step
The full process
Guide times for someone reasonably handy, on a 20 m² surface.
- 1
Prepare the surface
2-4 hours per 20 m²
On soil: remove the topsoil to a depth of about 8-10 cm and clear out roots and stones. On concrete or tile: sweep and check that water drains away; if there are puddles, sort them out first.
A poorly prepared sub-base is the number one cause of artificial grass rippling within a year of installation. It's the stage that deserves the most time.
- 2
Compact and level
1-2 hours per 20 m²
Spread 5 cm of compacted sub-base (Type 1 aggregate), water it lightly and compact it with a plate compactor (hired by the hour). Finish with 2 cm of levelling sand and compact again.
Leave a slight 1-2% fall towards the drainage point. On hard ground, this step is replaced with a foam cushioning underlay if you want more comfort underfoot.
- 3
Lay the weed membrane
30 minutes
Only on soil. Lay it with a 10 cm overlap between pieces and secure it with U-pegs every metre.
Without the membrane, shoots eventually appear through the joints. With good drainage, it doesn't hold back the water.
- 4
Roll out the grass
1 hour
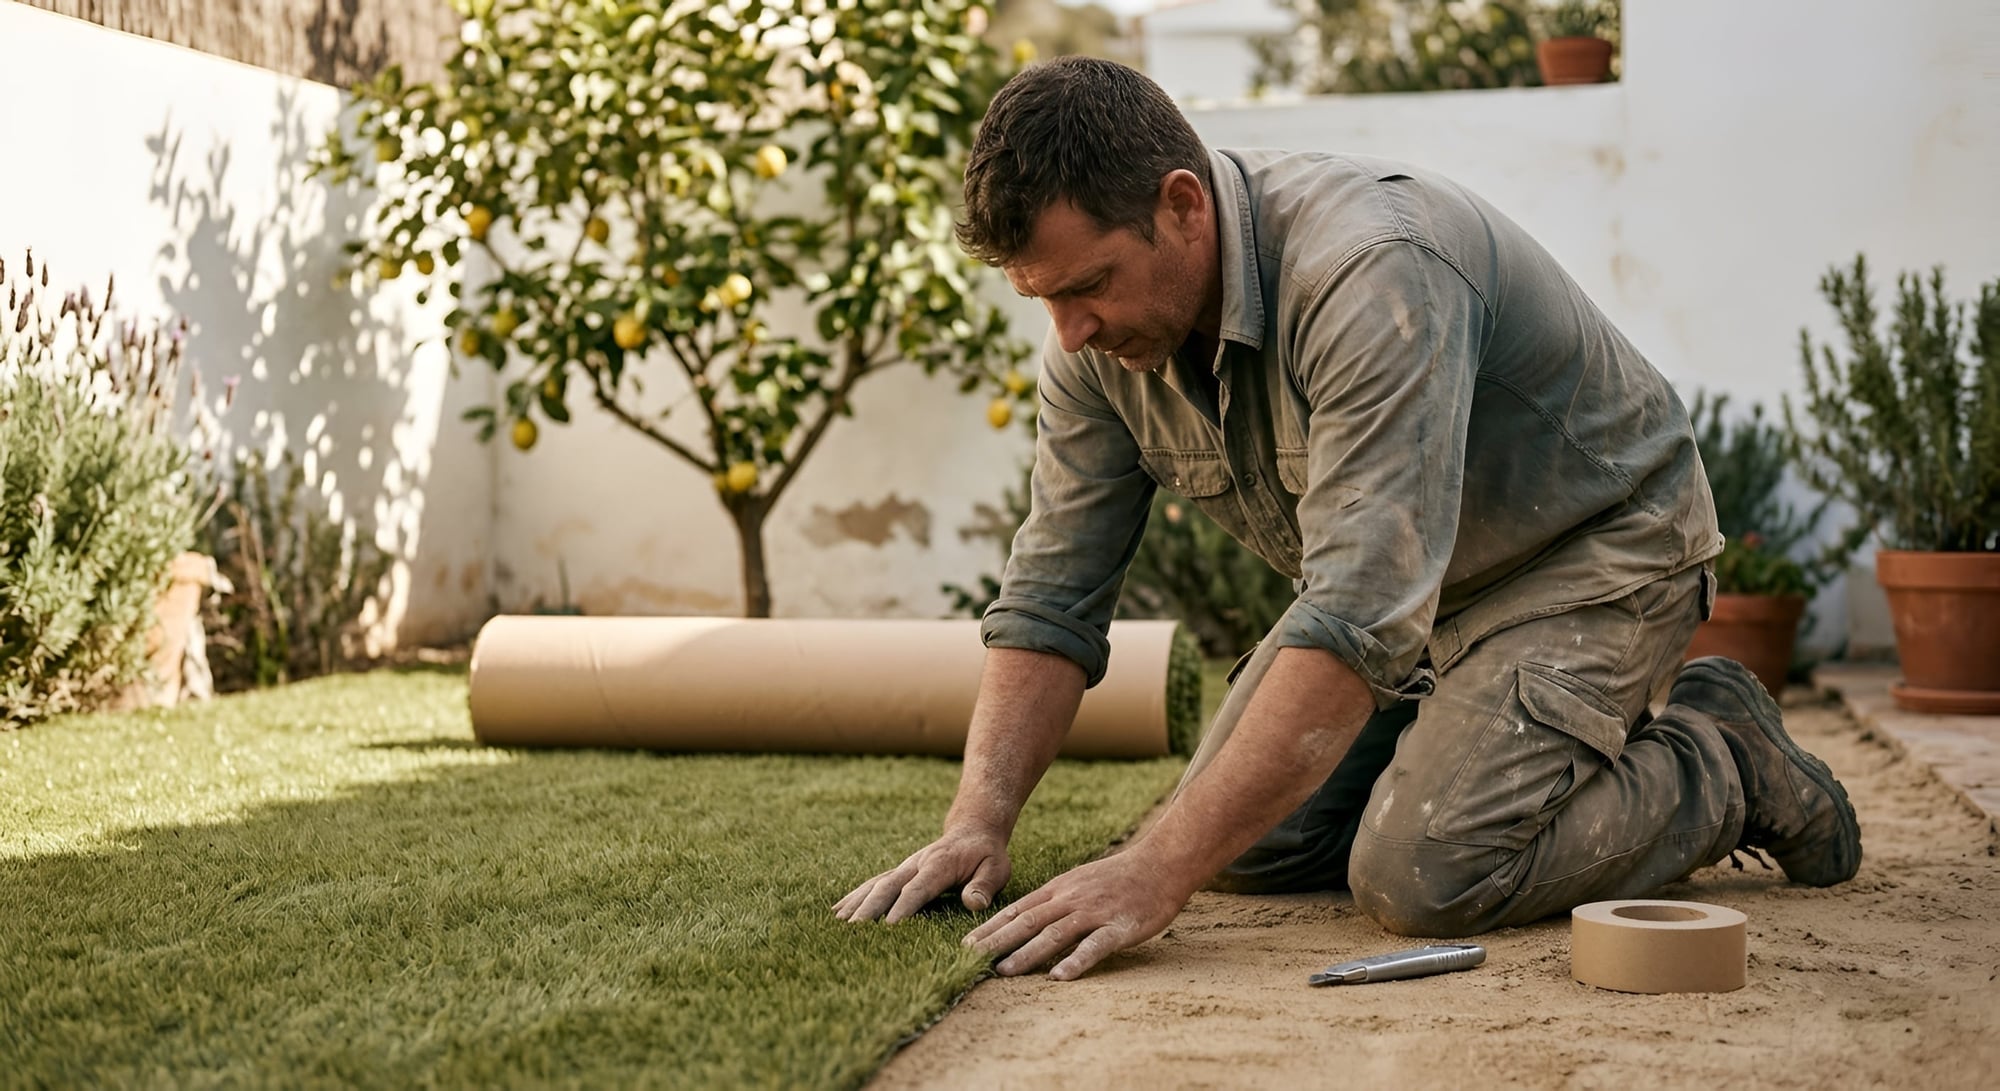
Unroll it and leave it to settle for 24 hours so it loses the creases from transport. All rolls must be laid with the pile facing the same direction.
Face the pile towards the point from which the garden is seen most, usually the terrace or the living room: the colour looks more intense against the grain.
- 5
Cut and fit
2-3 hours
Always cut from the back, between two rows of stitches, with a craft knife and a fresh blade. Leave 2 cm extra around the perimeter and trim it to fit at the end.
Change the blade every 15-20 linear metres: a worn blade tears the backing instead of cutting it.
- 6
Join the seams
1 hour
Place the joining tape under both pieces, apply polyurethane adhesive in a zigzag and press down. Lift out any trapped fibres before it sets.
Leave a 2-3 mm gap between pieces: if the joints are butted tight, the grass will bulge as it expands in the heat.
- 7
Fix the perimeter
1 hour
U-pegs every 20-25 cm on soil; perimeter adhesive on concrete or tile.
On windy terraces, secure the corners too: that's where it lifts first.
- 8
Brush and finish
30 minutes
Brush against the pile with a synthetic-bristle stiff brush to lift the fibre. If the manufacturer recommends it, spread silica sand (4-6 kg/m²) and brush again.
The final brushing is what separates an installation that looks professional from one that looks like a carpet.
Avoid this
The six most costly mistakes
Almost every installation that fails does so for one of these reasons.
Laying the rolls with the pile facing different directions: the difference in shade shows forever.
Not compacting the sub-base: ripples and dips appear within the first few months.
Cutting from the pile side instead of the back: the cut ends up uneven and visible.
Applying too much adhesive: it seeps through the joint and stains the fibres irreversibly.
Installing on the same day the roll arrives: without letting it settle, the transport creases stay put.
Forgetting the drainage fall on hard surfaces: puddles form that never drain away.
Materials needed
What you need to install it
Tools
- Rigid-handle craft knife and spare trapezoid blades
- Tape measure and a 2 m straight edge
- Stiff brush with hard synthetic bristles
- Plate compactor (hired; only if installing on soil)
- Rake and shovel
Materials
- Compacted sub-base aggregate and levelling sand (on soil)
- 100 g/m² weed membrane
- Geotextile joining tape and polyurethane adhesive
- 15 cm U-pegs, or perimeter adhesive on hard surfaces
- Silica sand, if recommended by the manufacturer
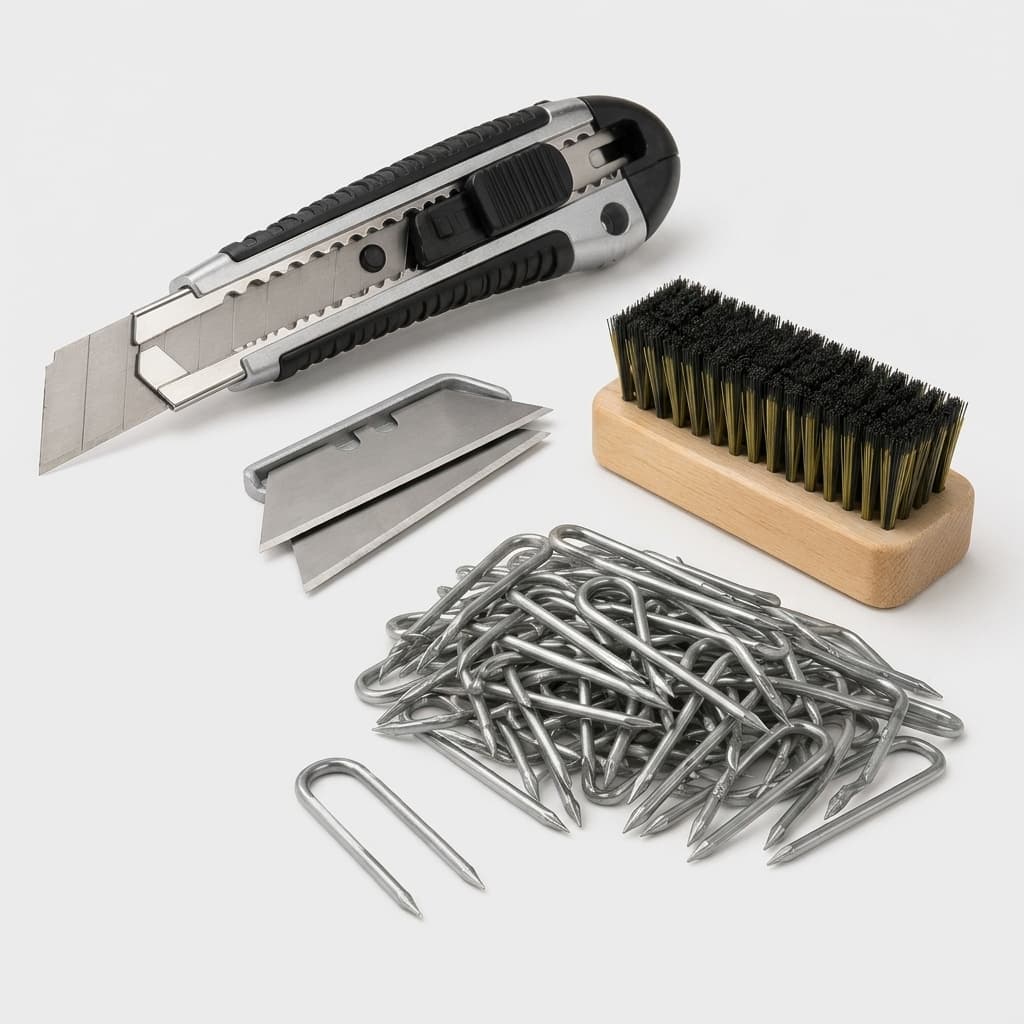
Cúter profesional con 10 hojas de repuesto, 100 clavos en U galvanizados y cepillo de cerdas sintéticas.
0,00 €/unit- For sports use
- Single-material, 100% recyclable
Combina una gran capacidad de drenaje horizontal con un drenaje excepcional: la solución para terrazas, áticos, gimnasios y zonas que necesitan evacuar agua. Aporta amortiguación y seguridad en las caídas, y la cámara de aire que crea bajo el césped influye en su temperatura. Polipropileno reciclado y 100 % reciclable.
0,00 €/unit
Installation questions
If you still have questions after reading this, send us a photo of the surface and we'll tell you how to approach it.
Ask about my caseCan I install it myself?
Yes, on hard, regular surfaces — terraces, balconies, concrete patios — and in small, rectangular gardens. In large gardens, with slopes or a lot of curves, sub-base preparation is the critical point and it's usually worth hiring an installer: poor compaction shows up within a few months as ripples.
What tools and materials do I need?
A craft knife with spare blades, a tape measure, a straight edge or ruler, a synthetic-bristle stiff brush, weed membrane, joining tape, polyurethane adhesive, and U-pegs or perimeter adhesive depending on the type of ground. On soil you'll also need compacted sub-base aggregate, levelling sand and a plate compactor, which is hired by the hour.
Do I need to add silica sand?
Not always. On quality grass with good spring-back, it isn't essential. It is recommended on large surfaces, high-traffic areas and with pets: it weighs down the roll, keeps the fibre upright and improves fire behaviour. The usual dose is 4 to 6 kg/m².
Which direction should the rolls be laid in?
All with the pile facing the same way. If one is turned 180°, the colour looks different depending on the light and the joint will show permanently. It's also worth facing the pile towards the point from which the garden is seen most — usually the house or the terrace — because the green looks more intense against the grain.
How long does it take?
For 20 m² on soil, between 8 and 12 hours of work spread over two days, because the grass has to settle for 24 hours before it's cut. On an existing hard surface, the same area is done in 3 to 4 hours.
How do I stop the joints from showing?
Always cut from the back, between two rows of stitches and with a fresh blade. Centre the joining tape under both pieces, apply the adhesive in a zigzag bead and leave a 2-3 mm gap between pieces so they can expand in the heat. Before the adhesive sets, lift out with your fingers any fibres that have got trapped.